I hope this might interest people during this strange and worrying time of the coronavirus epidemic. I drew this during my toddler’s naptime; I am not claiming it is a perfect drawing or even a particularly good one, however, I enjoyed the focus and drawing is a wonderful way to distract yourself from your thoughts. As long as you are enjoying the process, don’t worry too much about the outcome. Apologies for the unedited photos.
Top Tip: This drawing is much easier to do in the evening, when you have stronger shadows and a single controllable light source such as a lamp.
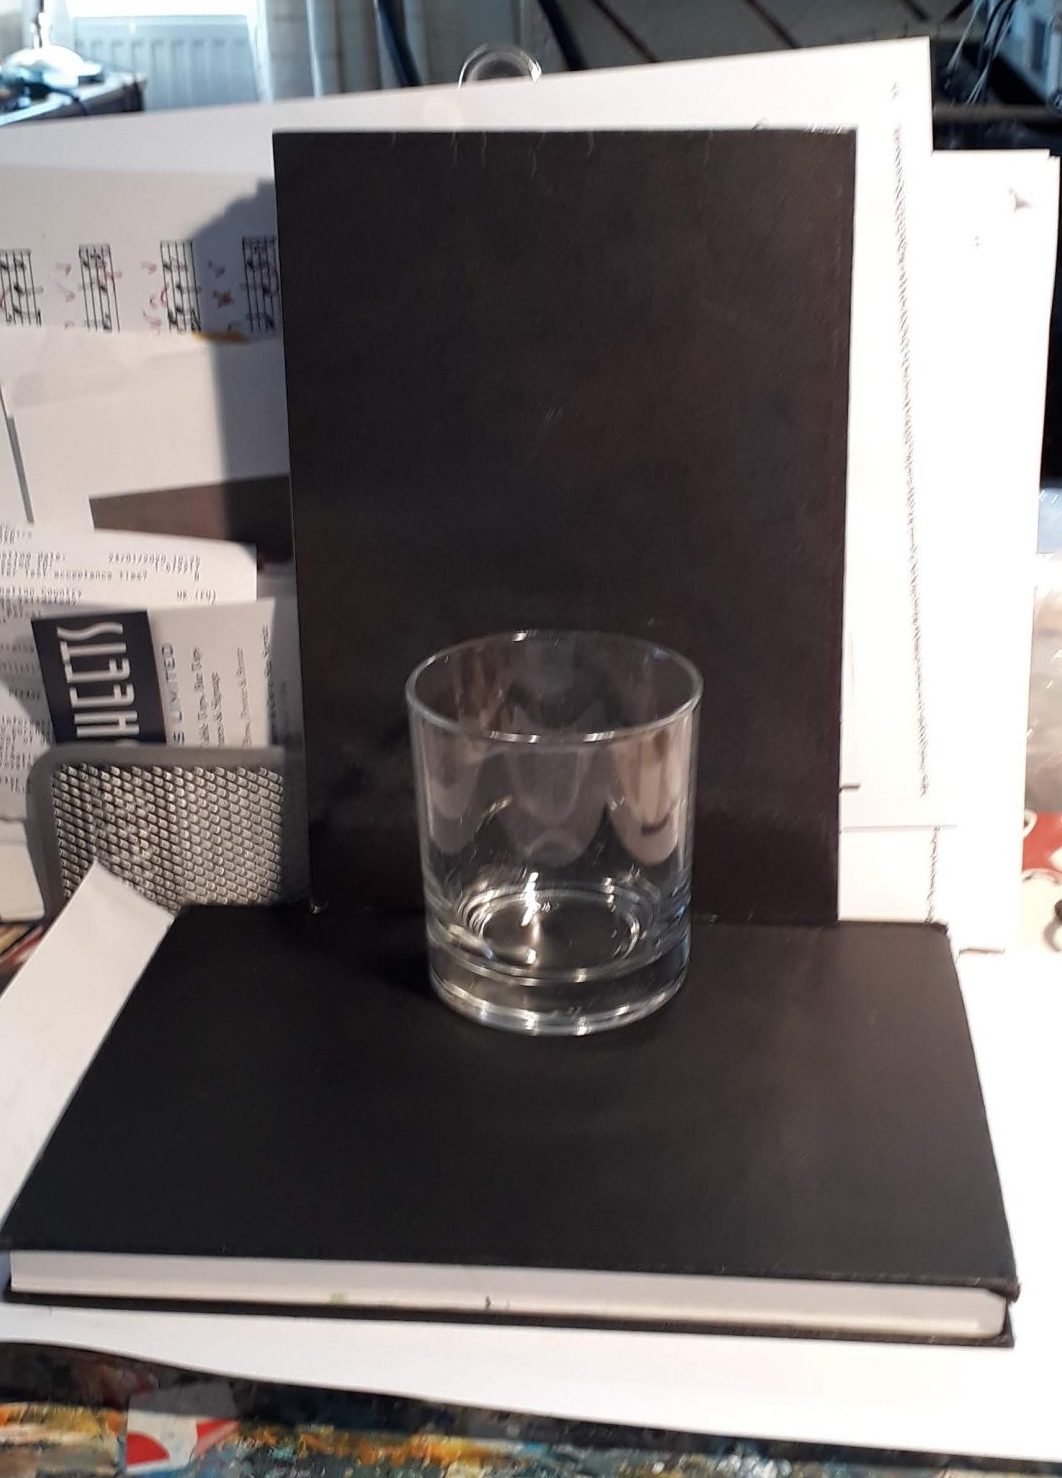
What you need: Paper A pencil. Ideally, a couple of drawing pencils e.g. a 2B and a 4B, or a really dark 6B. A putty rubber. If you don’t have one, you can use any rubber but you may have to trim it to get smaller more precise control for the later stages. A glass, and something dark to put below and behind it. I used two sketchbooks.
My set up, with its annoying complex and strangely shaped reflections.
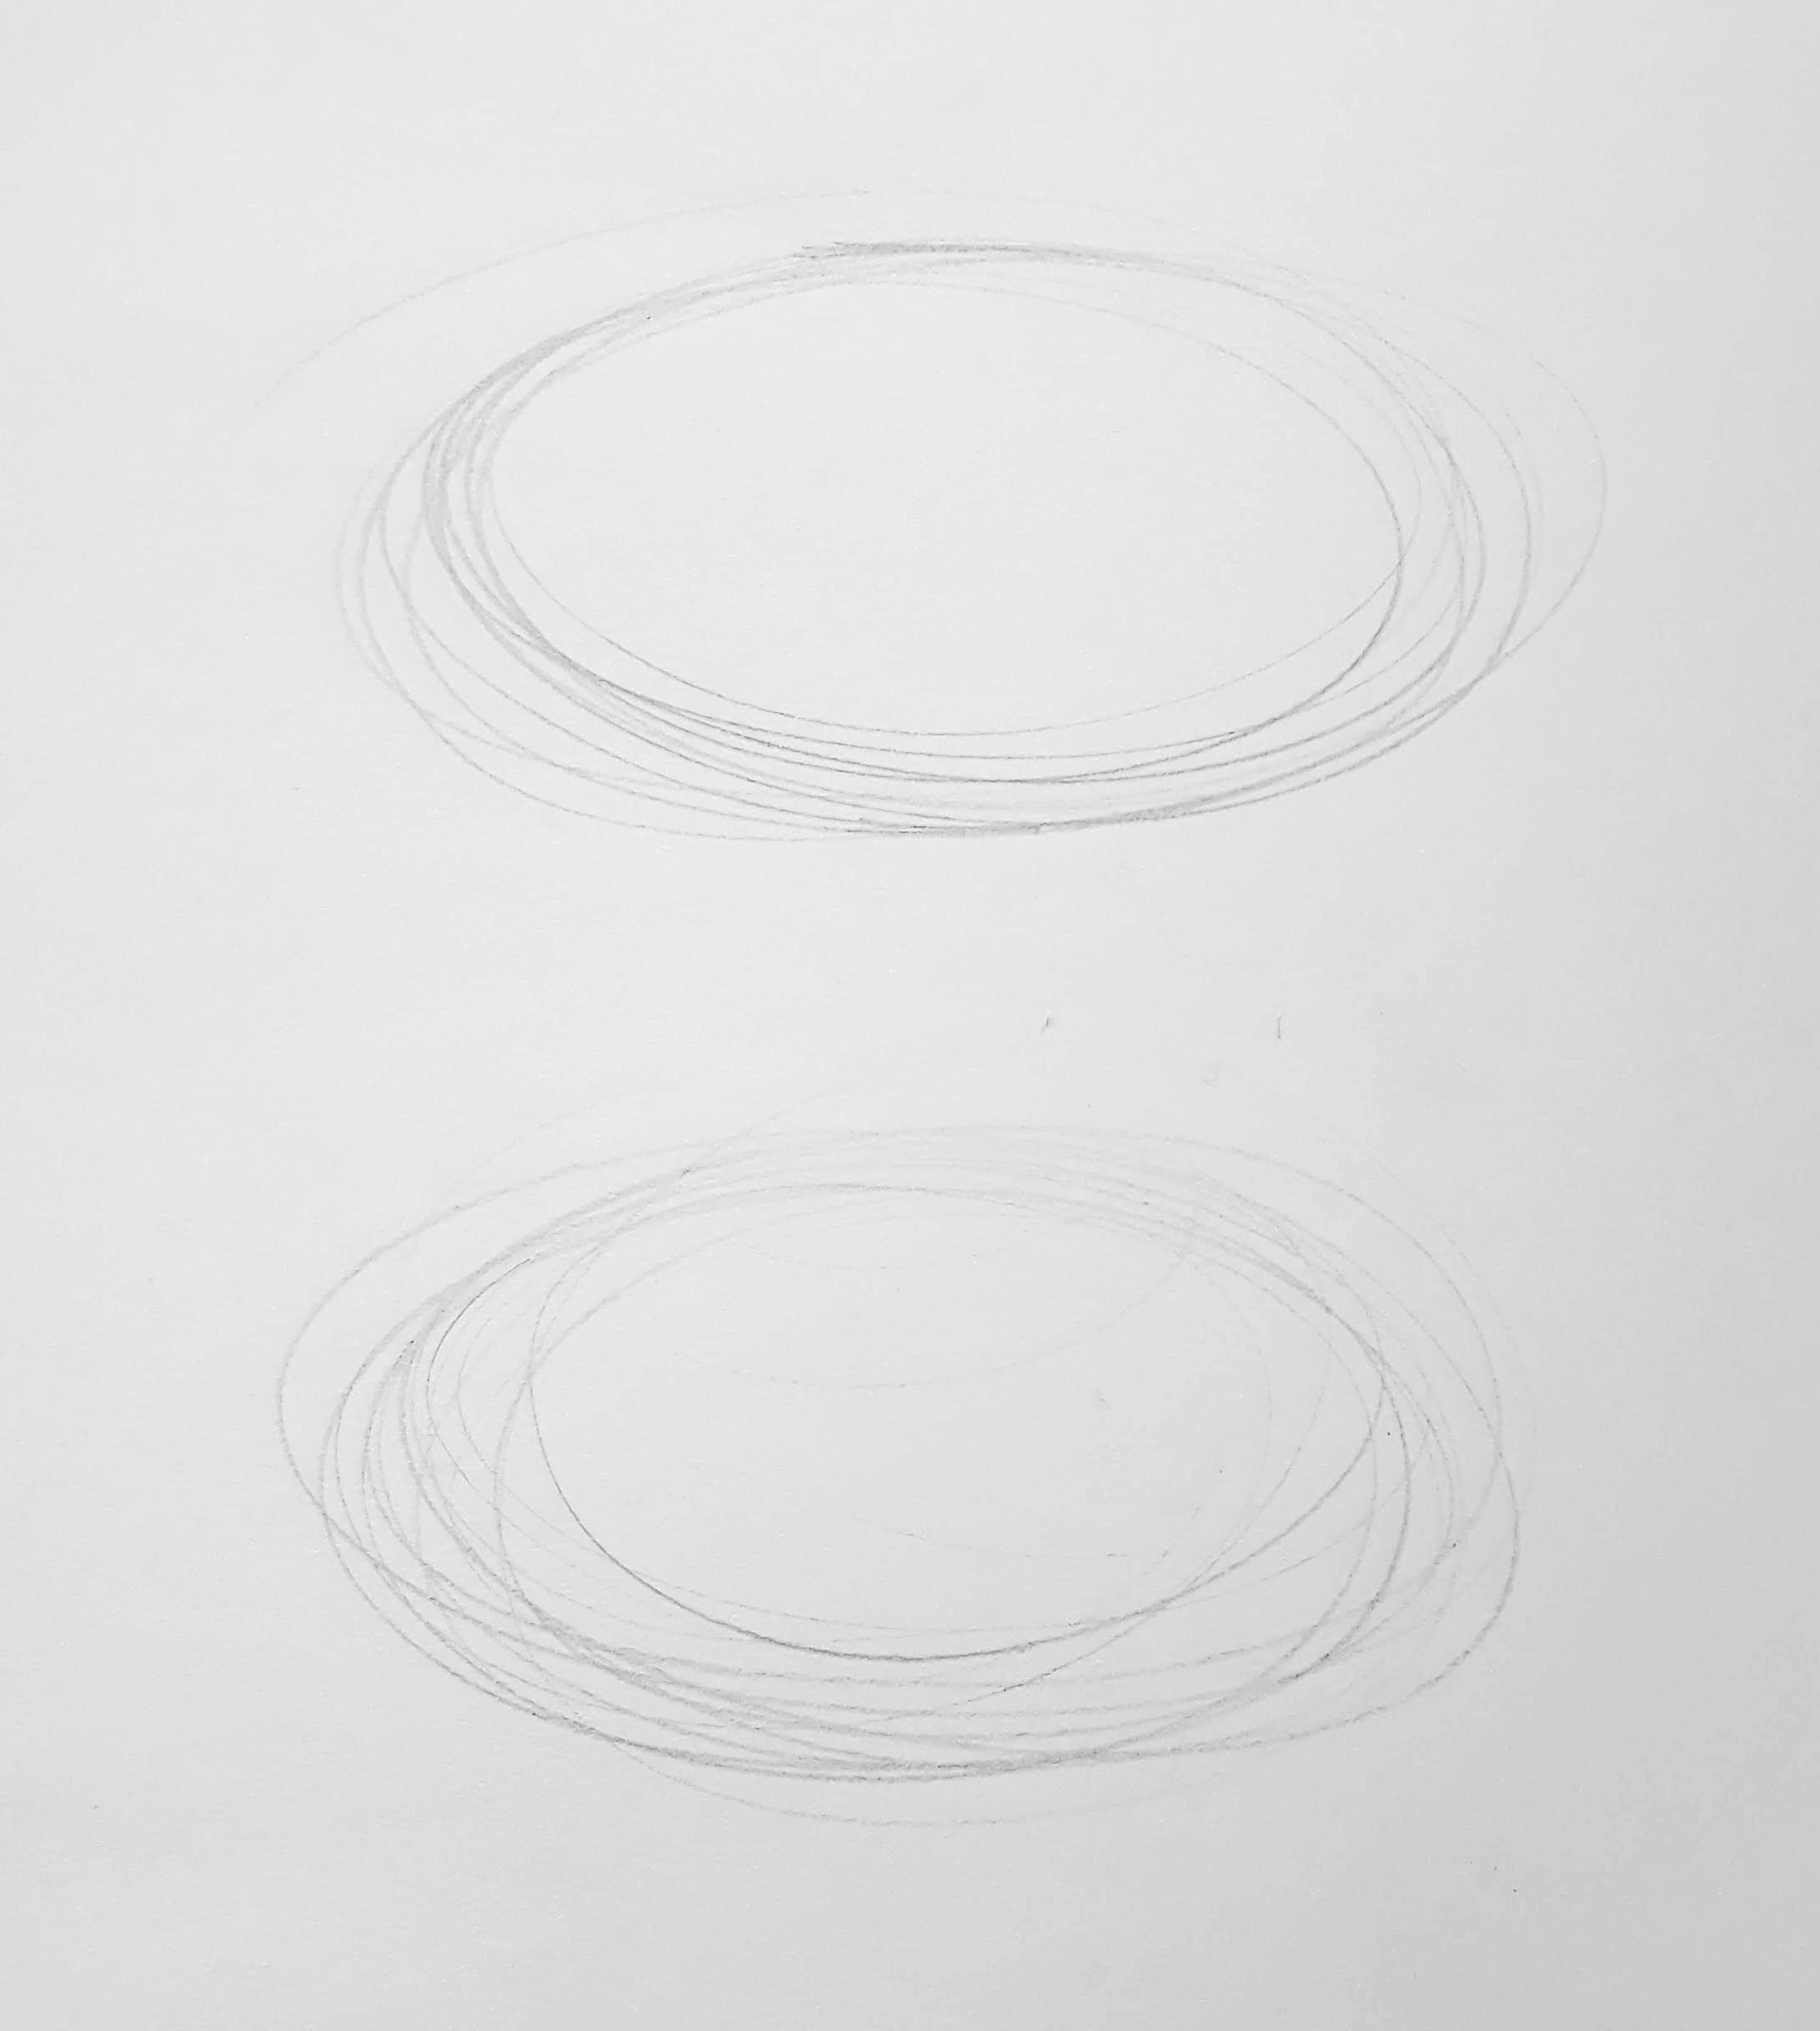
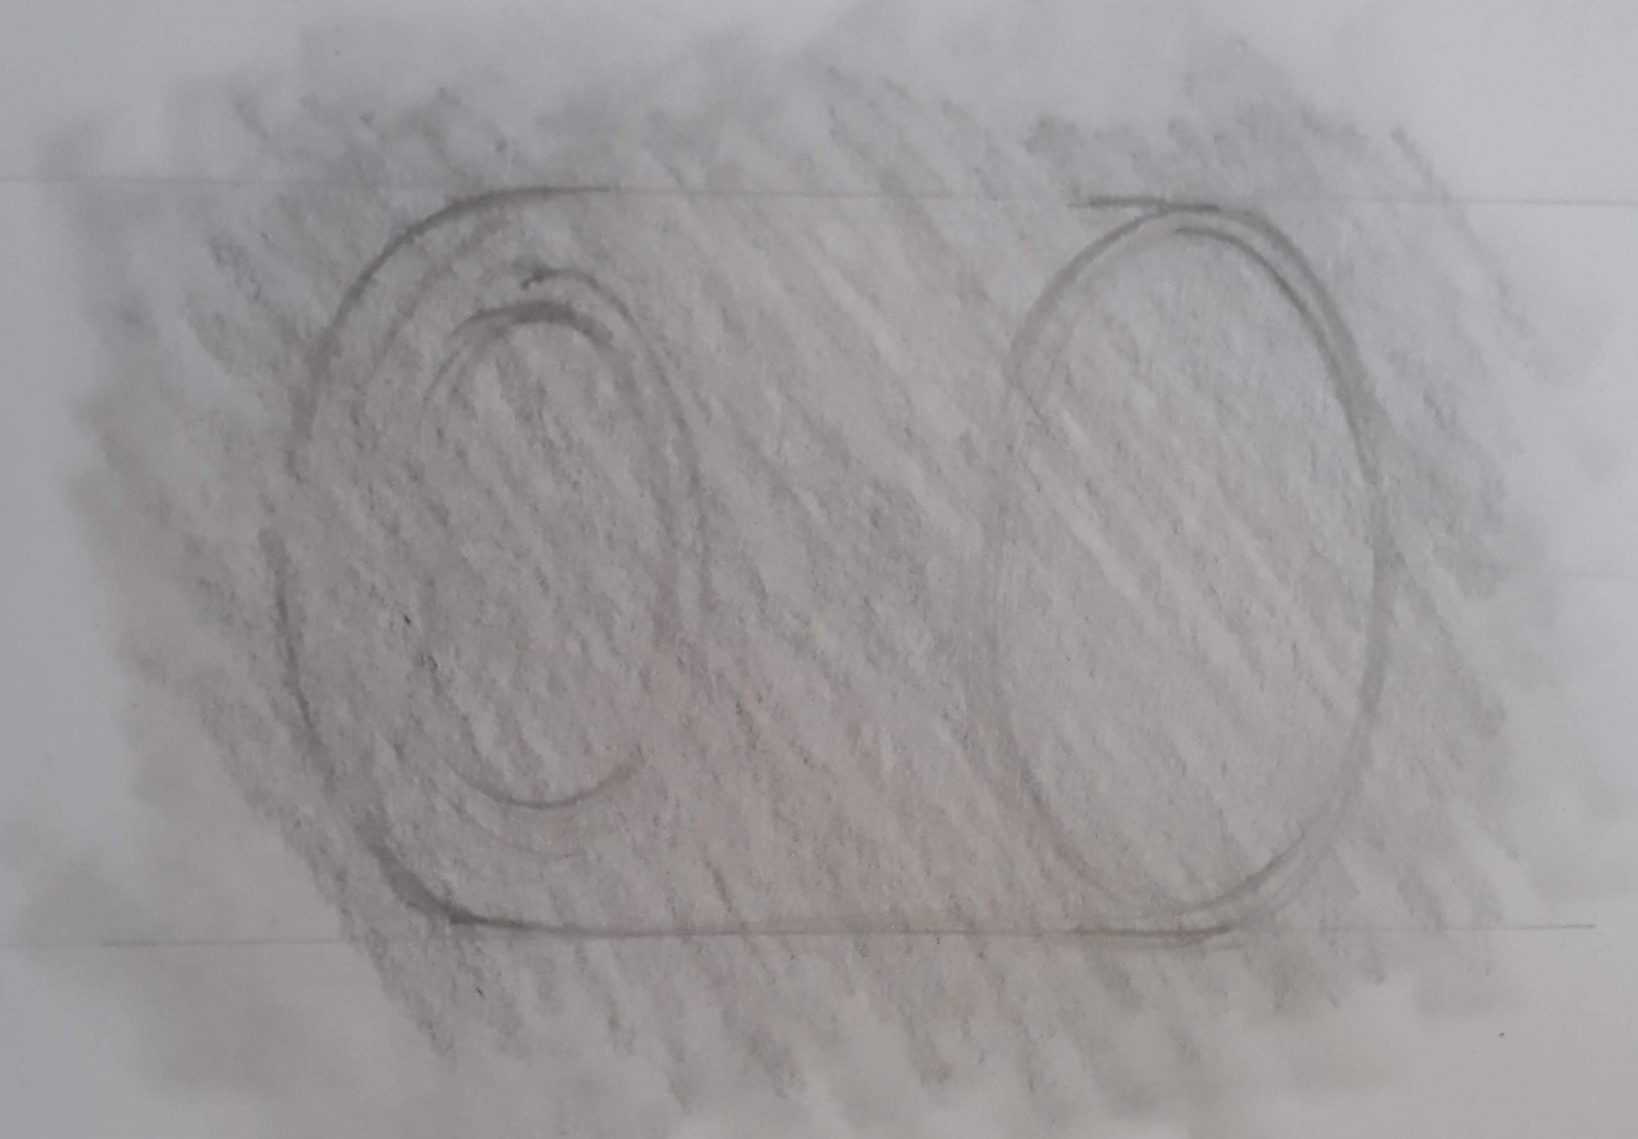
1. Warm up! Practice drawing ellipses. It’s easiest to do this using movements of your whole hand or even arm, rather than just with your fingers. Make a whole page of ellipse shapes. Doesn’t matter if they’re wonky, they’ll get less wonky the more you draw.2. Beginning the drawing. Roughly draw two sets of ellipses for the top and bottom of the glass.
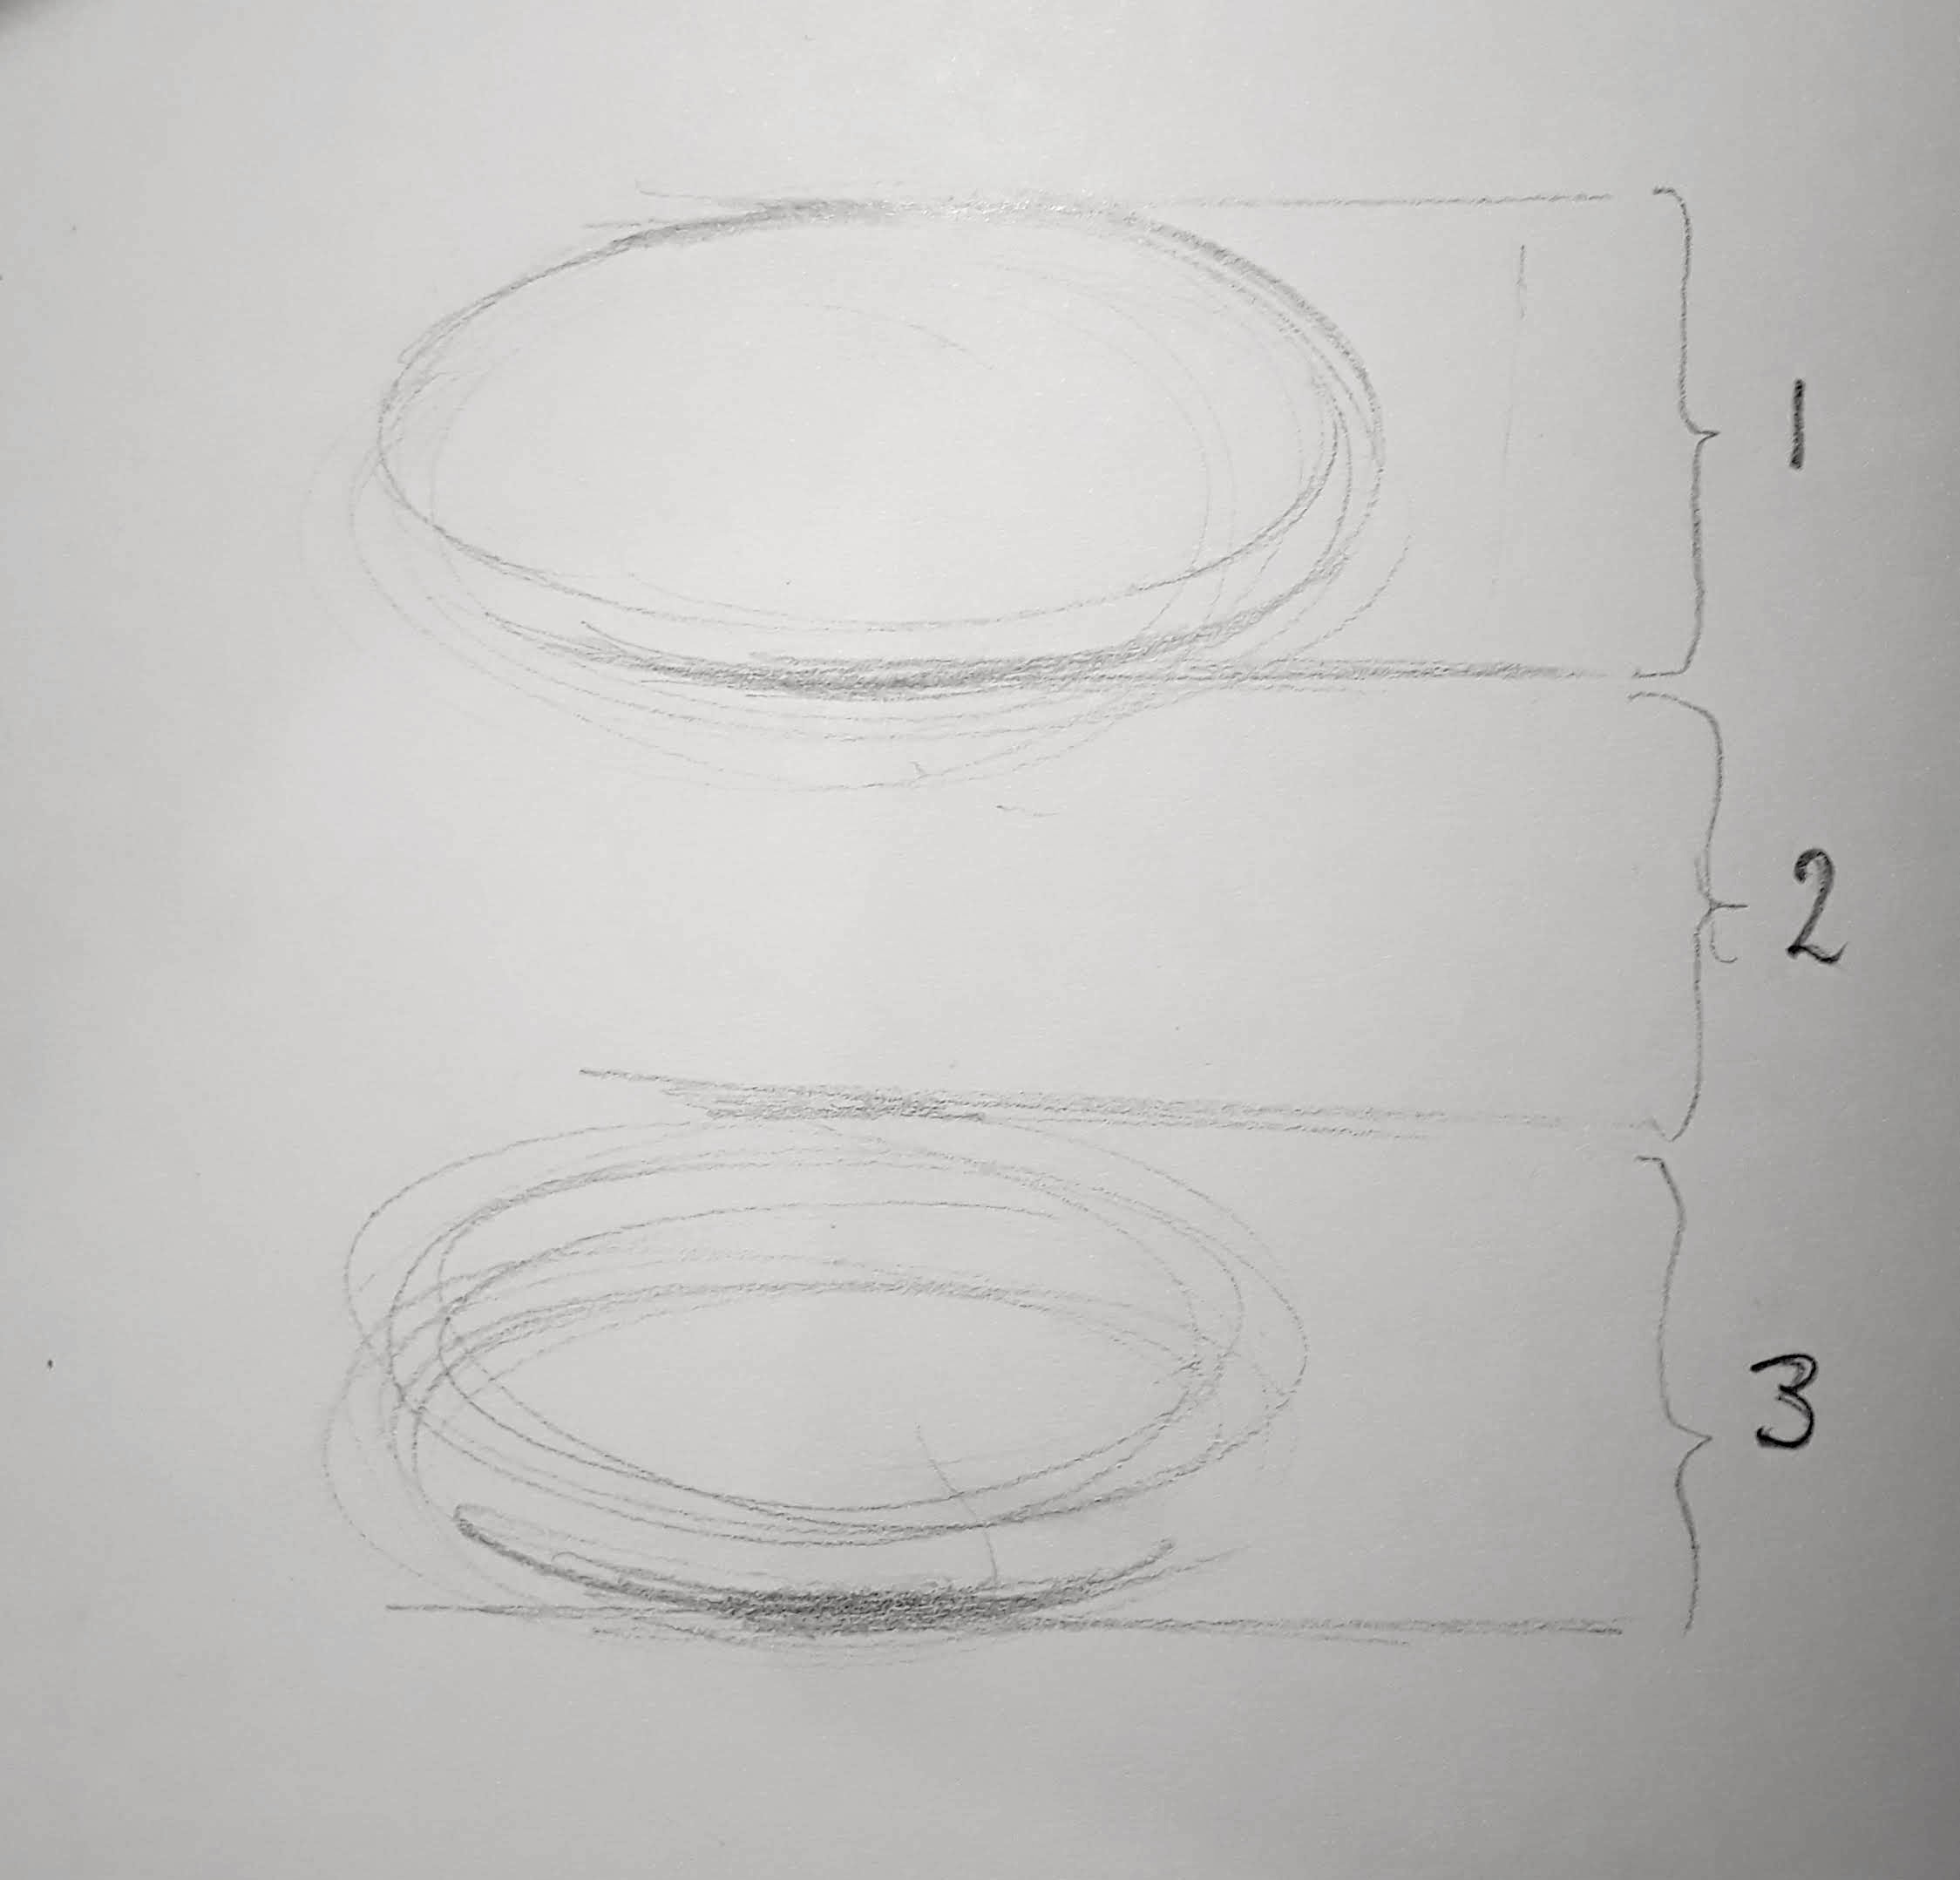
3.Check the proportions of your drawing. For example you could check how many times the ellipse at the top of the glass fits into the height. Mine fitted three times.
4. Add the vertical lines at the sides of the glass. Vertical-ish in my case, as it looks more like the leaning tower of Pisa. Firm up the lines, attempt to refine the top and bottom.6. I find that turning the drawing on its side makes it easier to check if the lines are parallel. I constantly turn my paper around when I draw. I roughly shaded over the drawing at this point too.
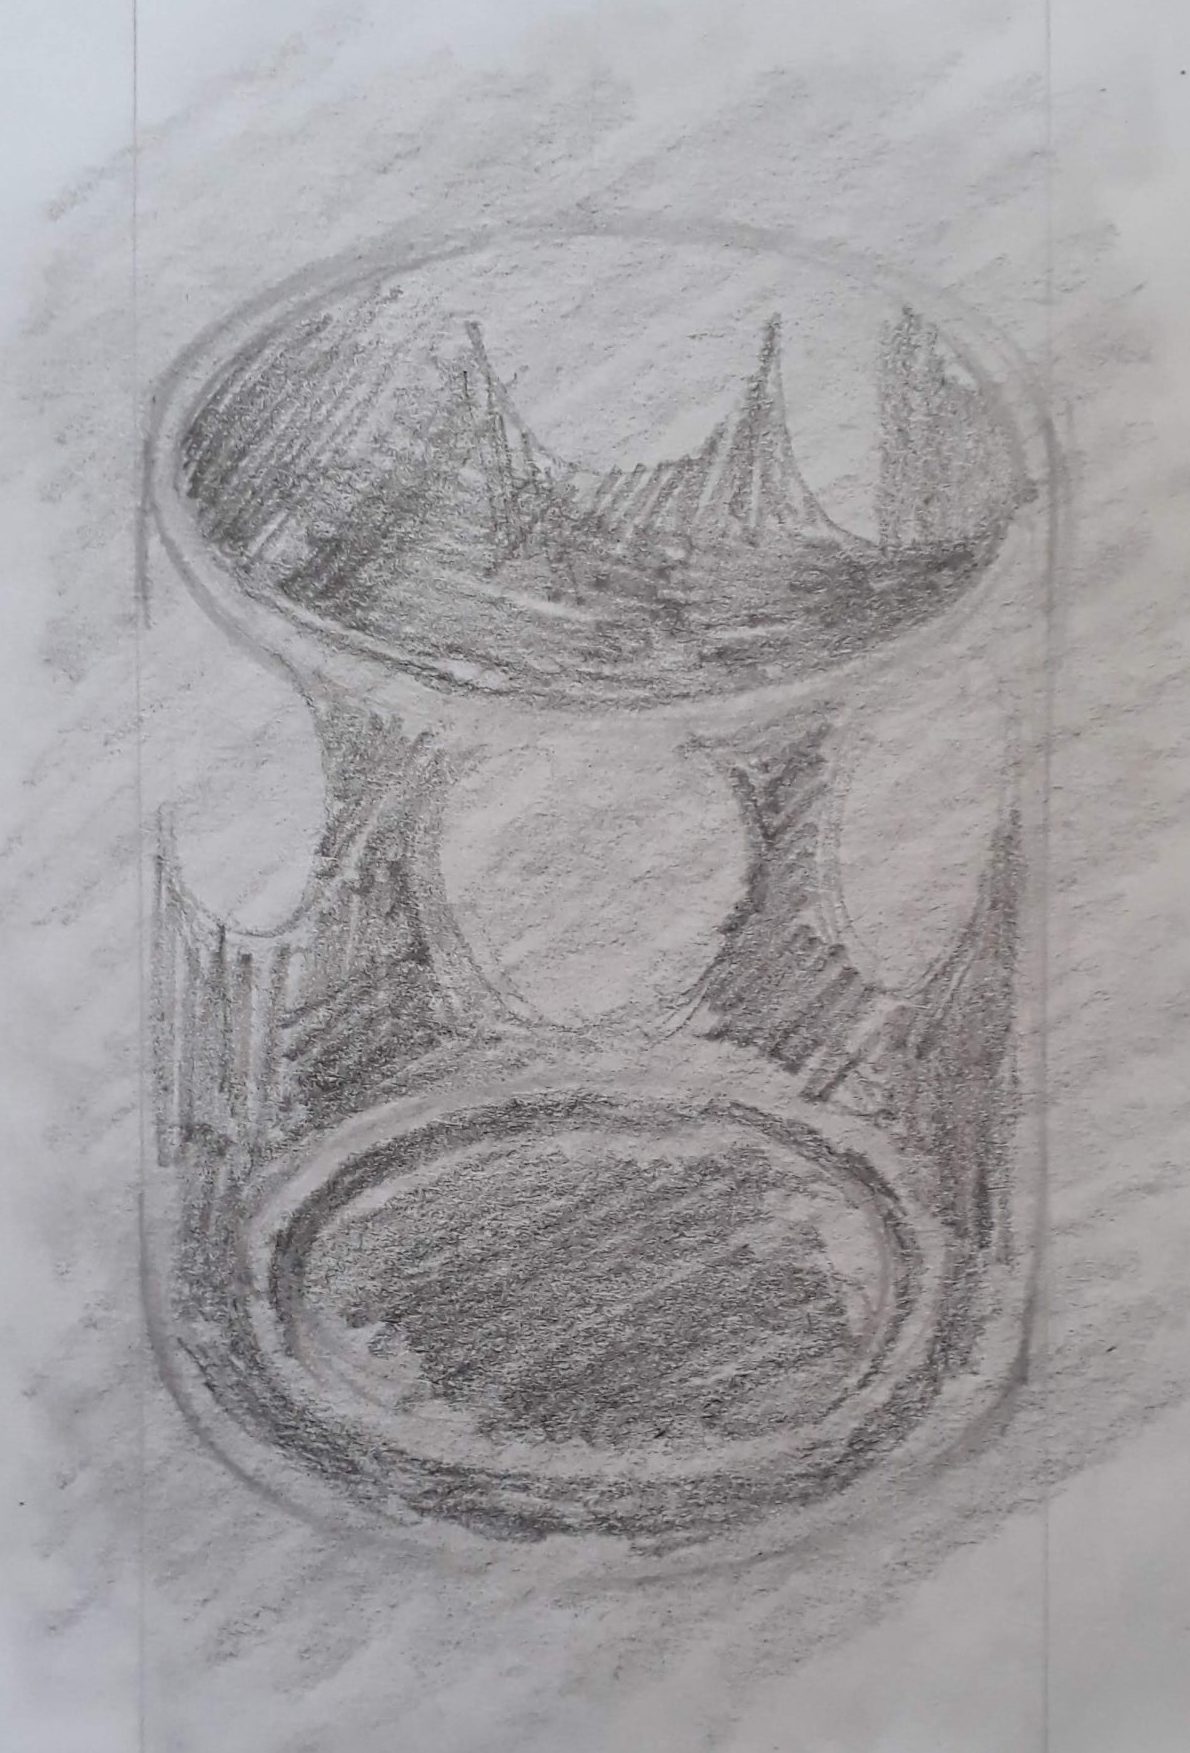
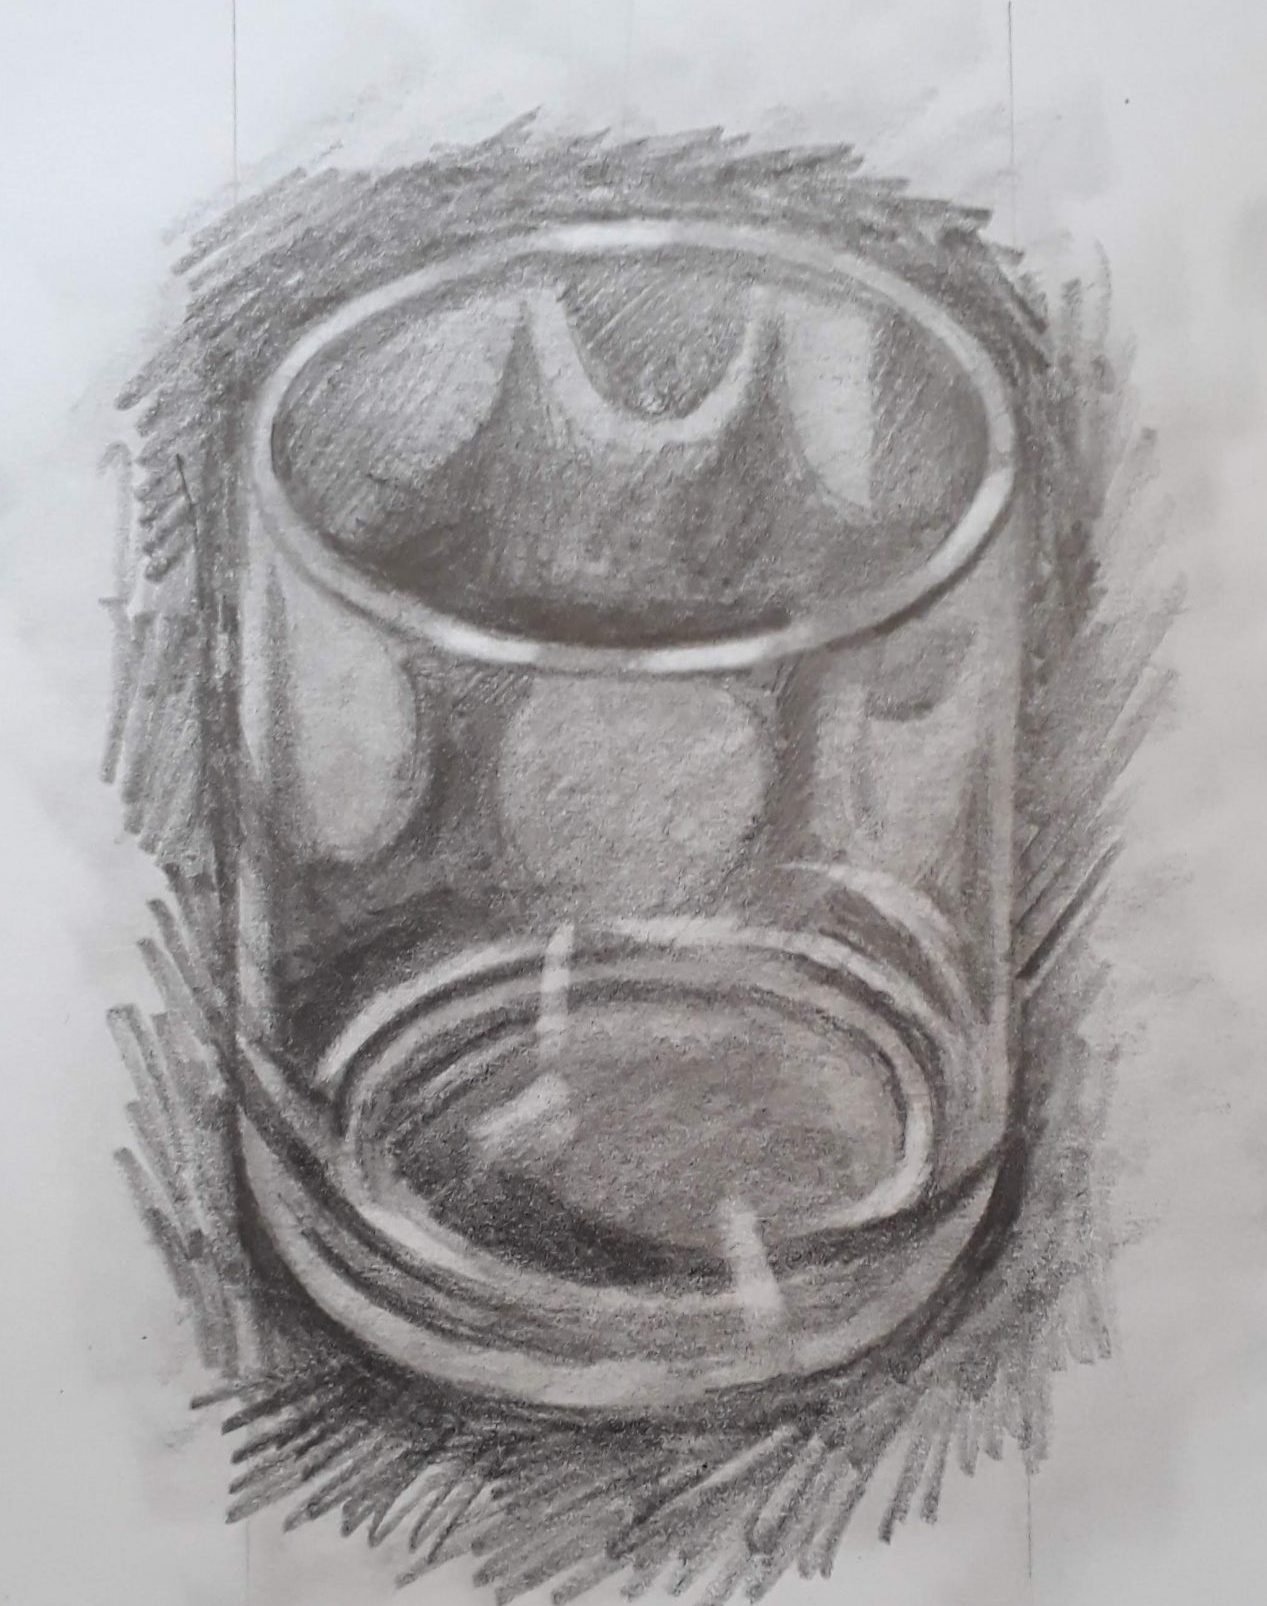
7. Where it starts to get a bit more interesting and fun. Half close your eyes and squint at the glass. This ought to allow you to see the shapes of the darkest areas of the glass more clearly. Roughly draw those shapes, and shade them in, without being fussy. Every time you move your head the shapes will change, so all you can do is give it your best shot. Nobody else will know what it looked like!
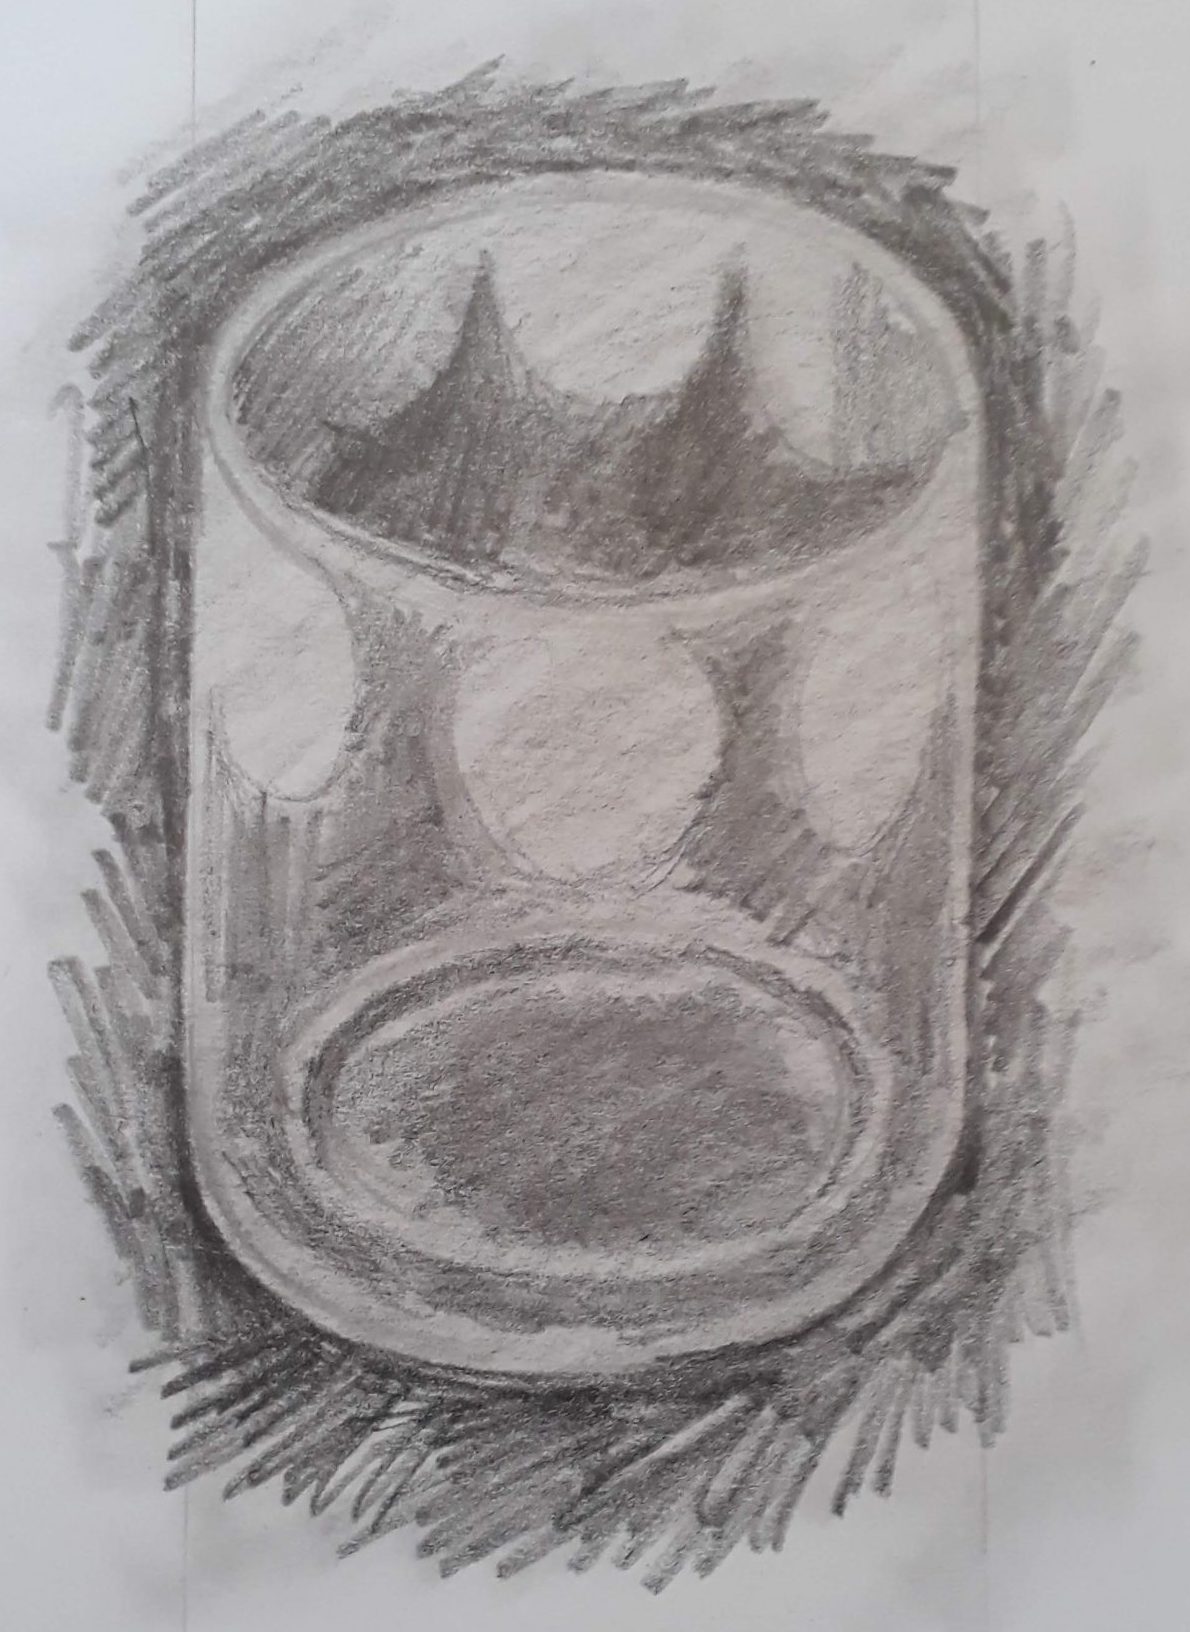
8. Add some dark shading around the glass. You can either blend this smoothly, or use hatching, small directional pencil strokes, as I have.
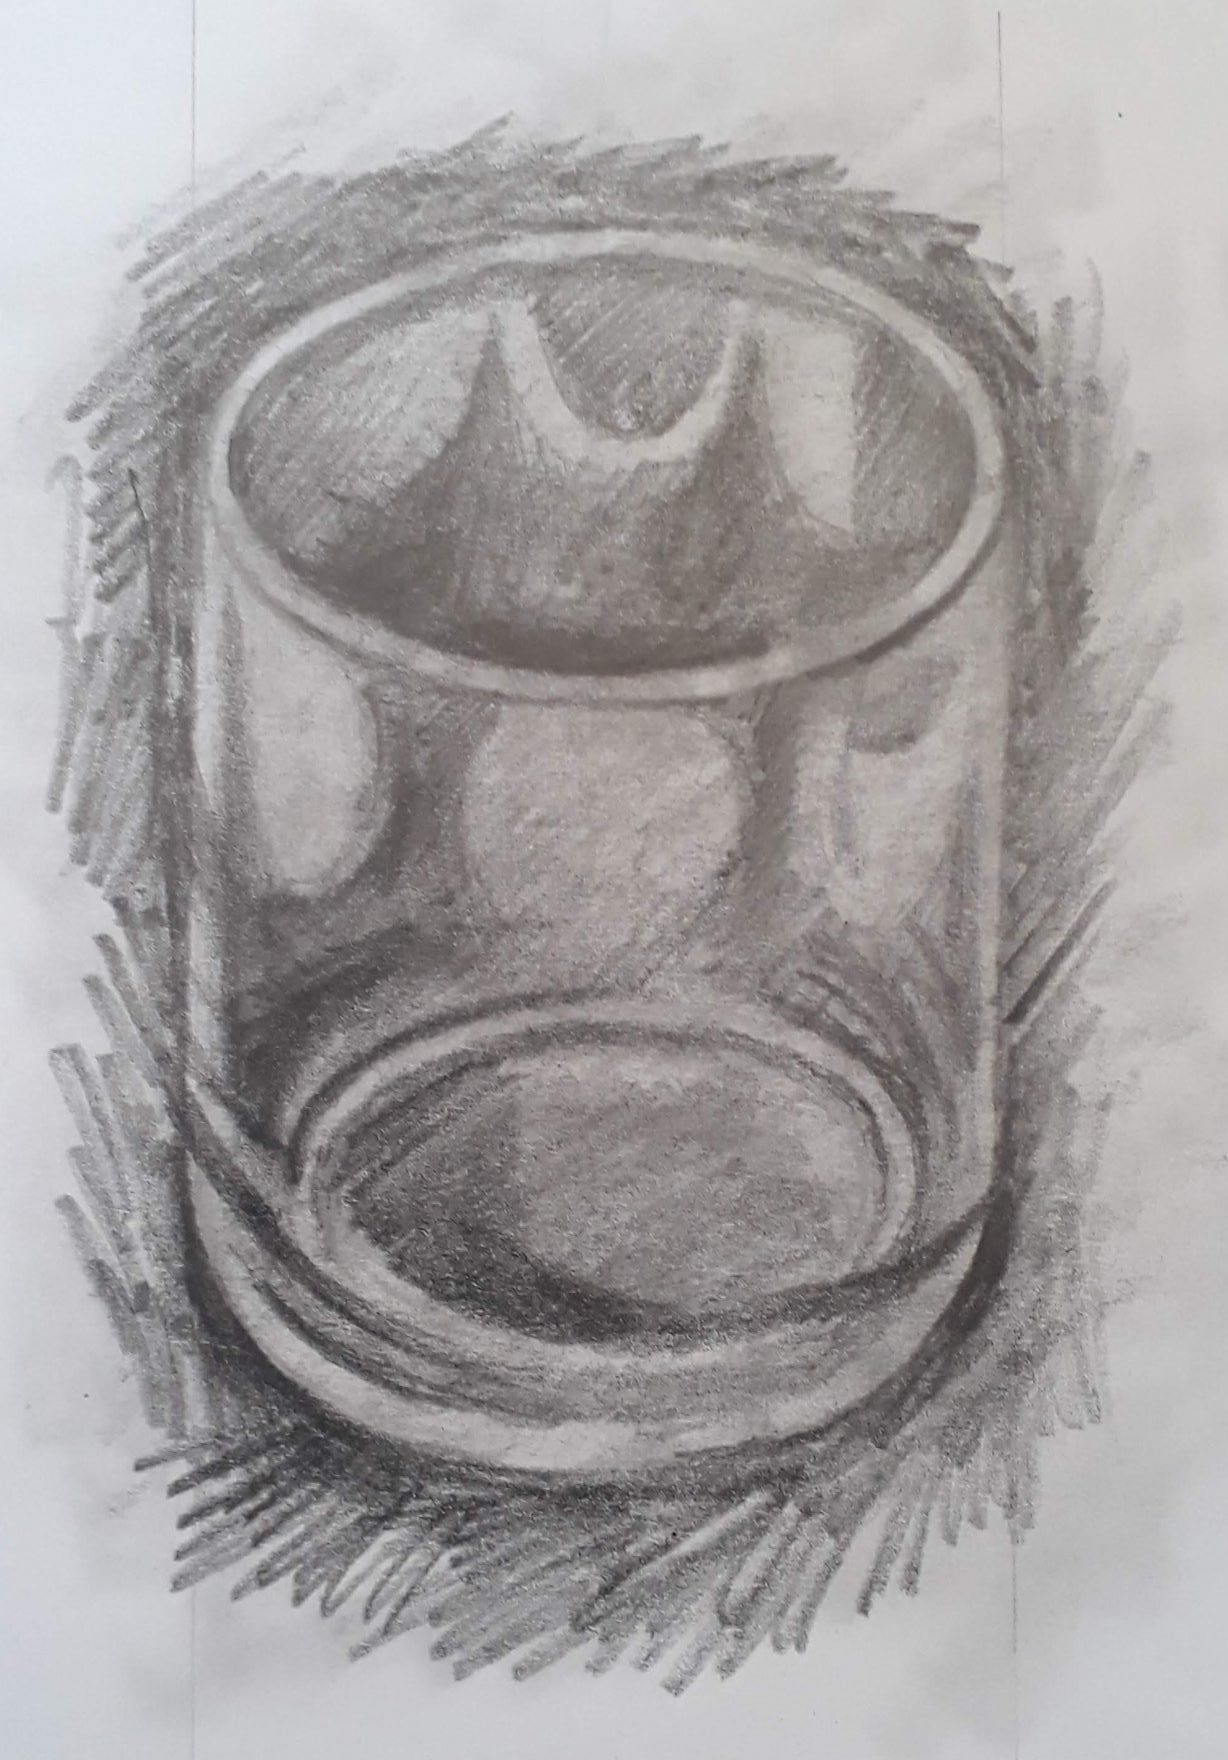
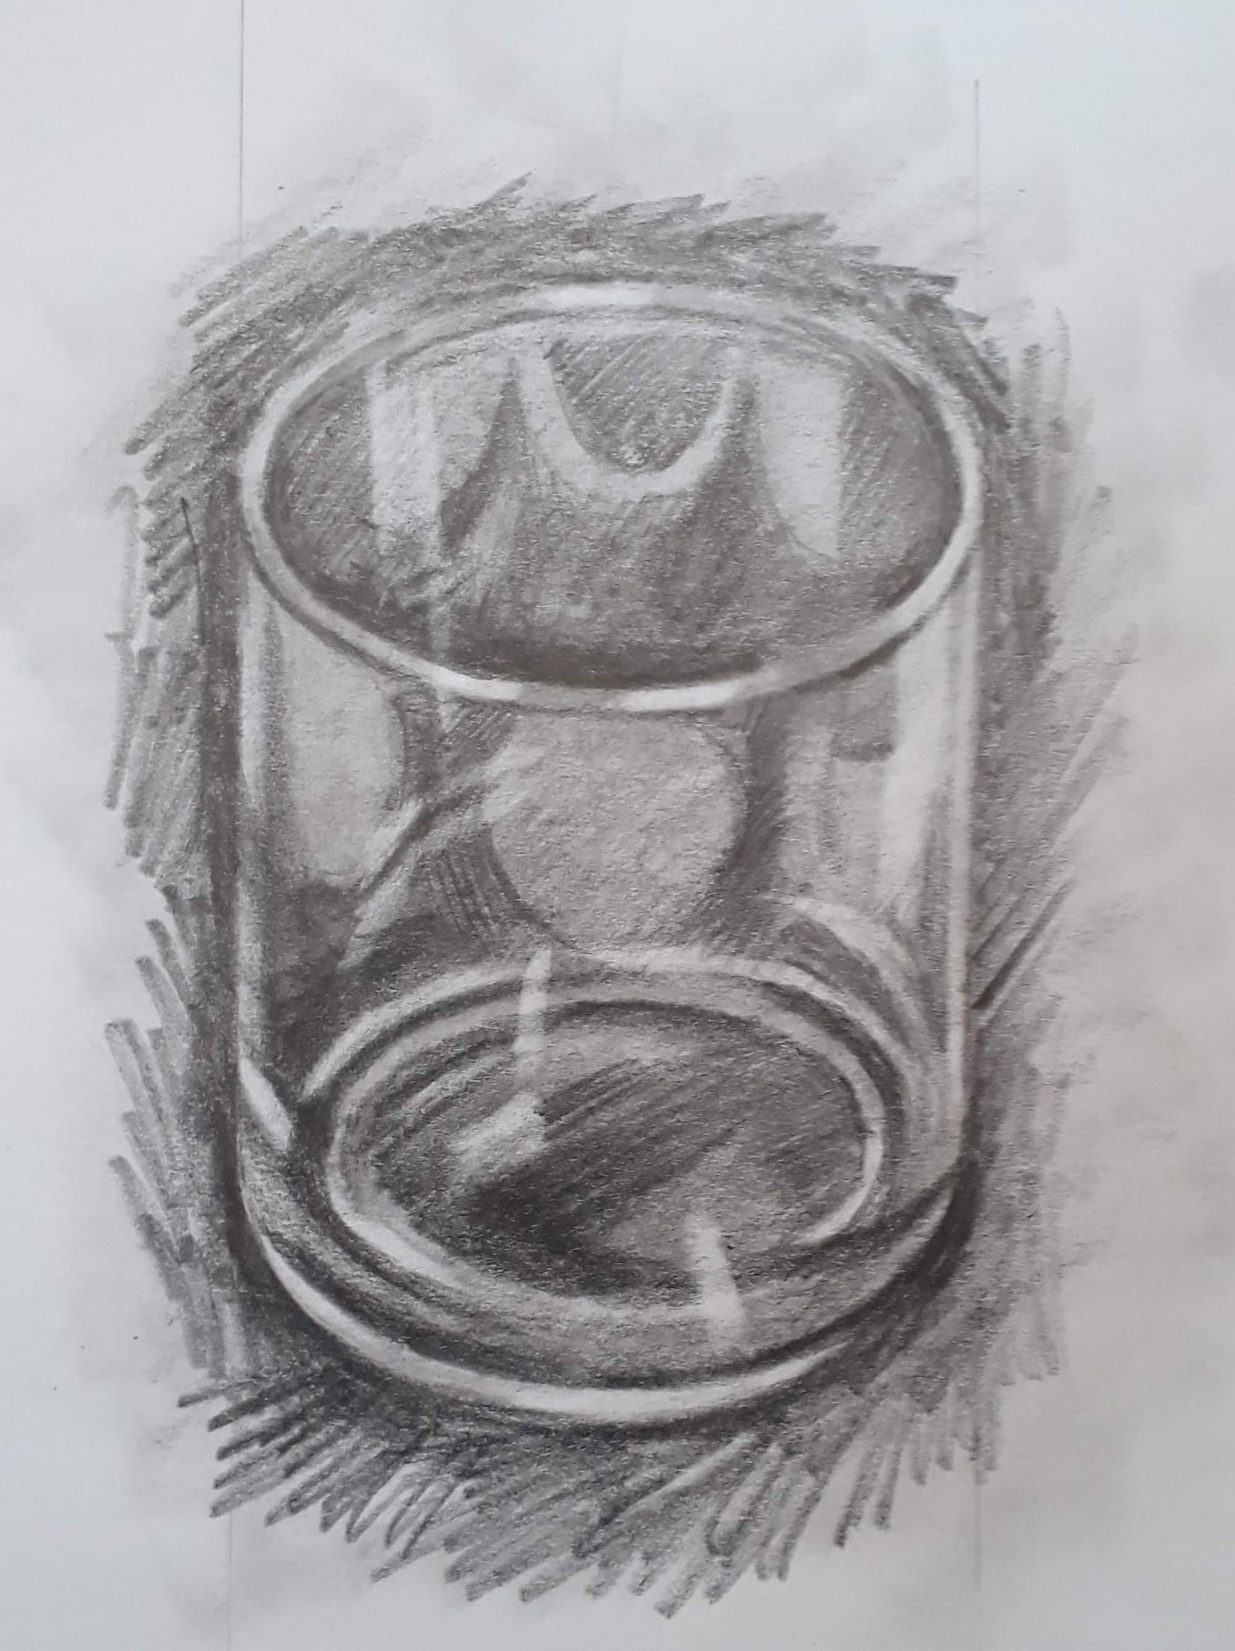
9. More carefully applied areas of dark and light in the glass. Note I have left a strip down the edges where there were highlights. I also smudged over some of the shading on the glass to make it look smoother.10. The most fun stage, rubbing out the highlights. In fact my glass only had small highlights. Putty rubbers can be quite hard to use, you have to form them into a point each time you want to make a mark. If you don’t have a putty rubber, use a sharp corner of a regular rubber instead.
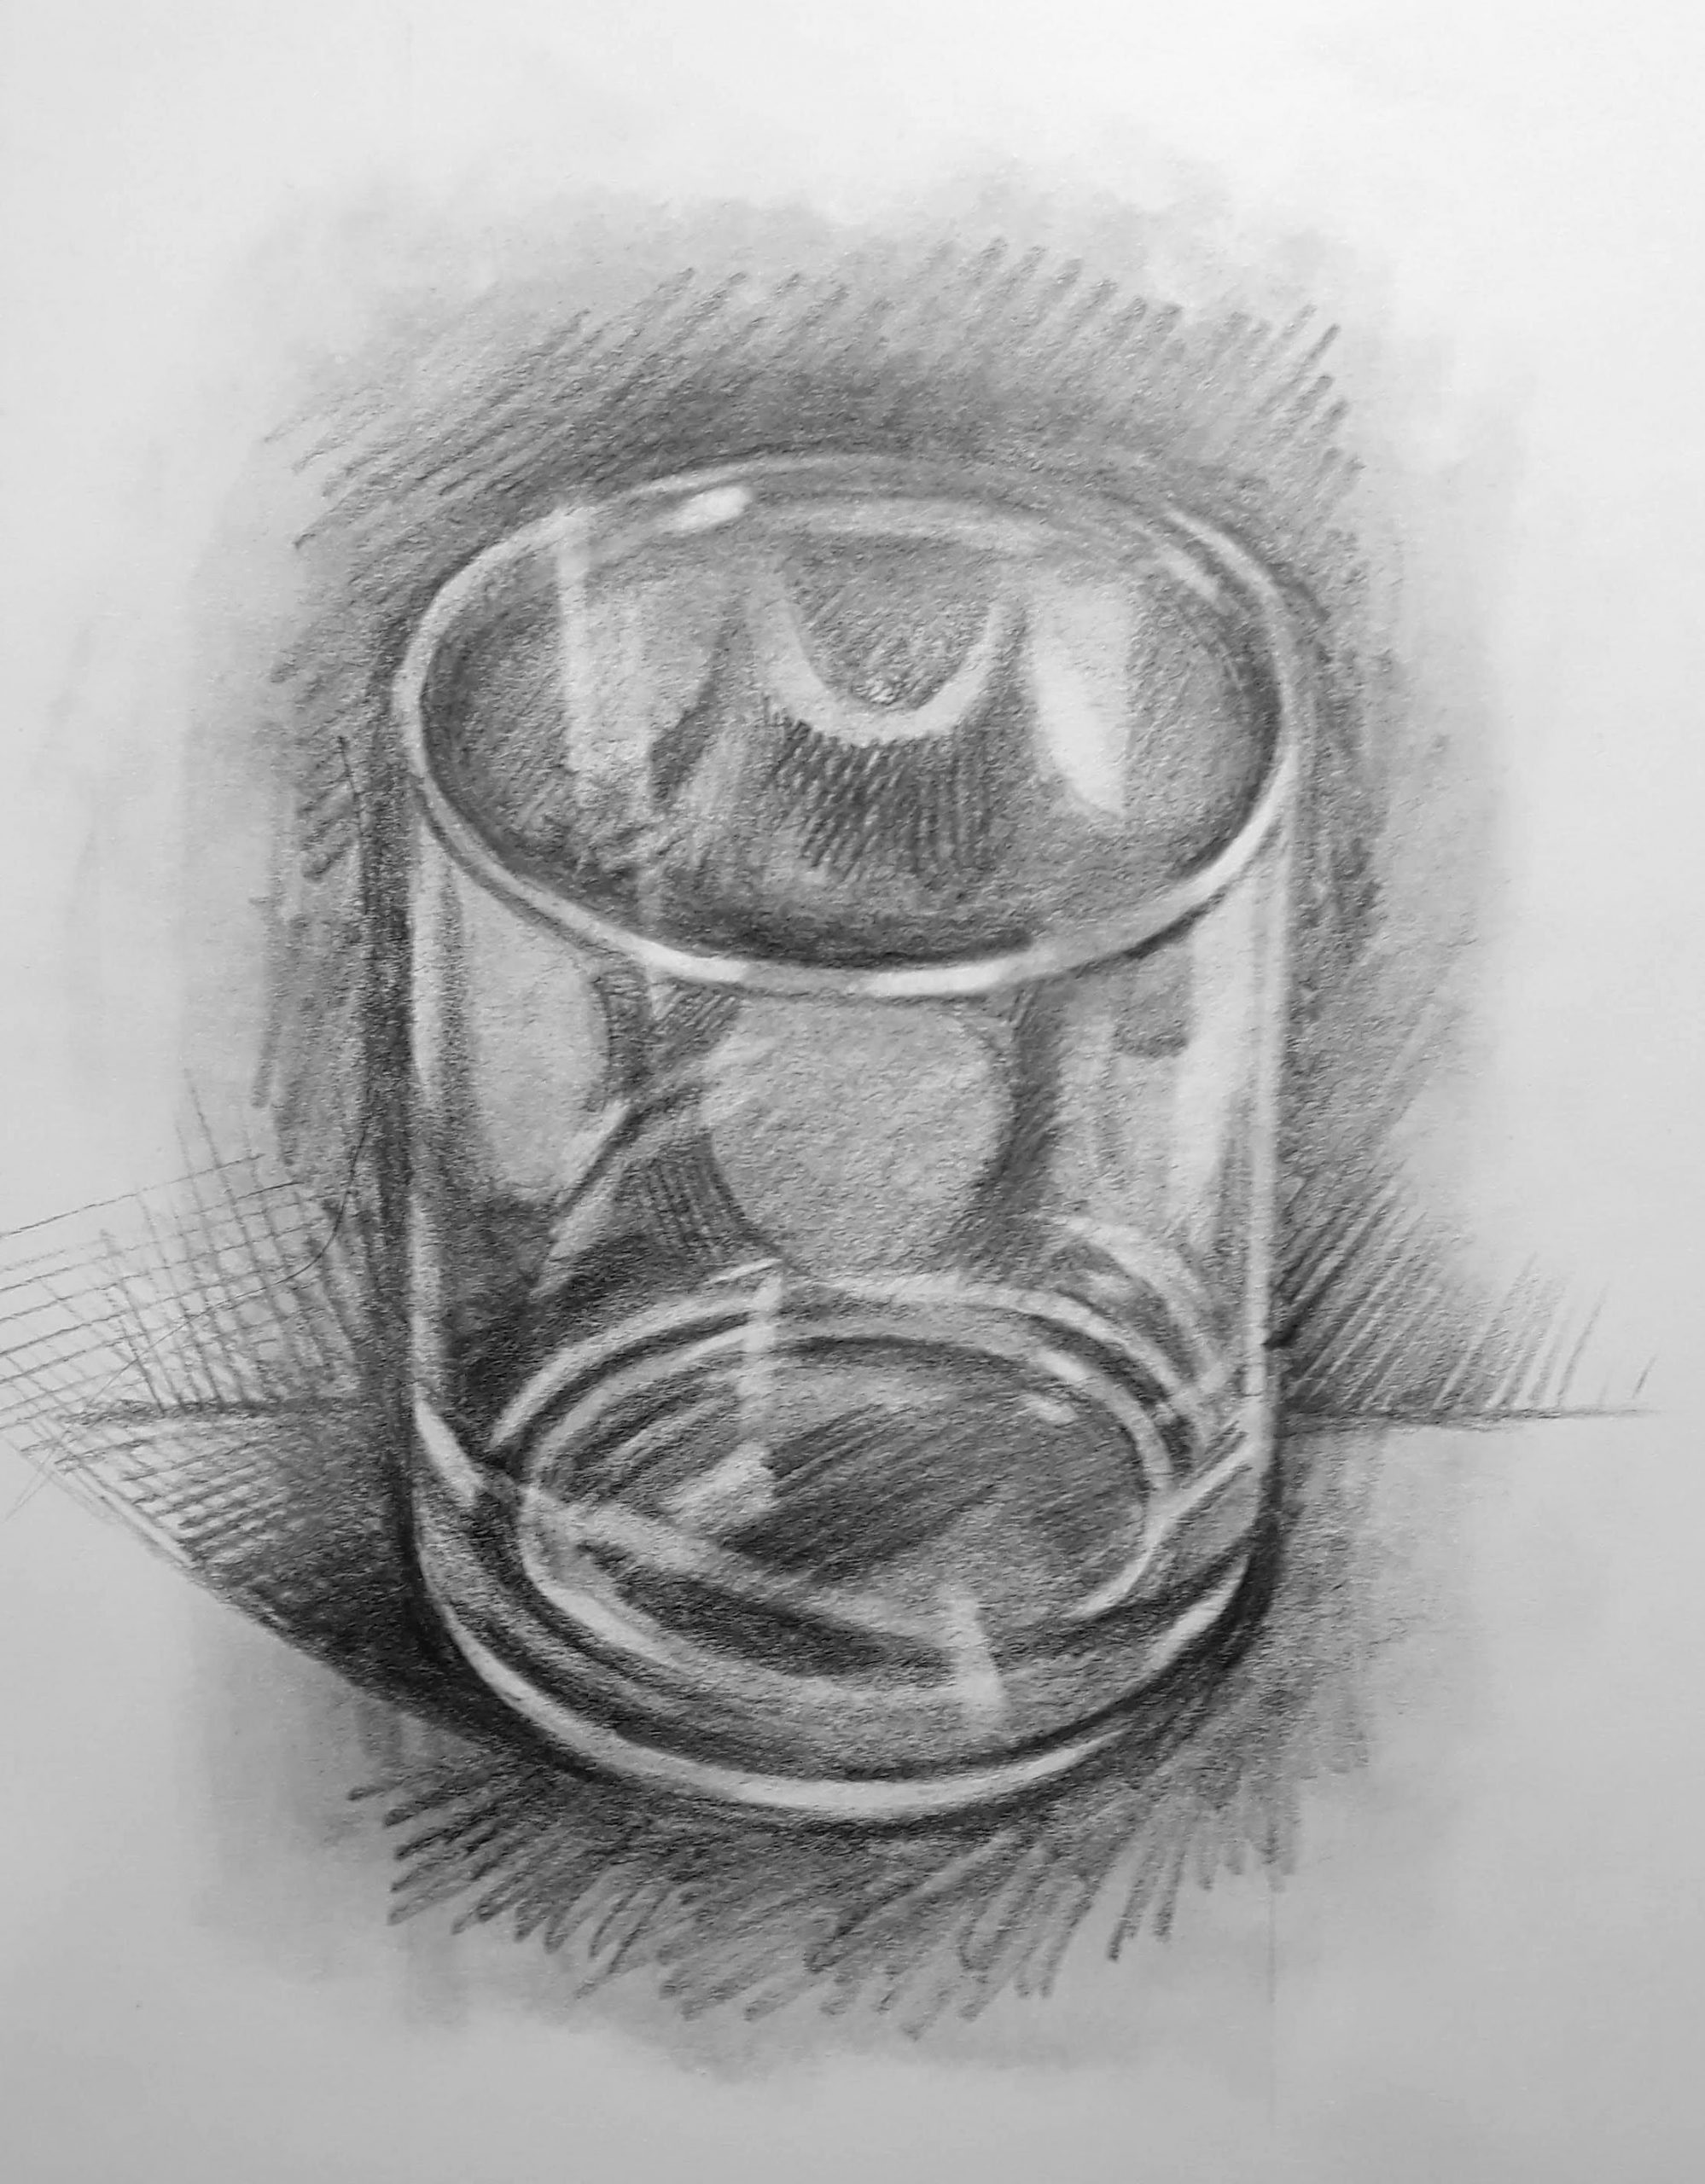
11. I also used the rubber to create some slightly larger highlights and clean up the drawing.12. The finished drawing, toddler woke up. I added some slightly neater hatching around the edges.